
Installing HomeAssistant OS in a Proxmox VM
Published on
This is a quick guide that sumarizes the manual deployment setup of Home Assistant OS into a Proxmox VM, all the credits to this post in the proxmox community.
I usually go there every time that I need to go through the setup process but then I also need to remember all the tweaks that I made to it so I wrote this for easy reference.
Home Assistant OS does not offer a .iso image that you can just upload at Proxmox interface and then provision your VM with it. So, to get it installed you’ll have to make it through the terminal.
The first step is to grab the .qcow2 image from the Home Assistant alternative page and make sure you copied the KVM/Proxmox download link.
Once connected to Proxmox root terminal you can download the image with wget.
wget <image download link>
The image comes compressed so uncompress it so you can use it.
unxz <haos-image.qcow2.xz>
Next we create the VM to install the image at. This can be done in the UI but since we are already in the terminal lets use it.
Home Assistant minimum requirements are of 2GB RAM and 2vCPU.
In my setup, with the plugins I usually use I go with 4GB RAM and 4vCPU, but whatever you go with, you can always resize your VM to meed your needs.
qm create <VMID> --name <VMNAME> --machine q35 --bios ovmf --memory 4096 --cores 4 --cpu x86-64-v2-AES --ostype l26 --boot order=scsi0 --onboot 1 --agent enabled=1 --efidisk0 local-lvm:0,efitype=4m --scsihw virtio-scsi-single --net0 virtio,bridge=vmbr0,firewall=1
Command breakdown:
- The
VMIDcan be 100 if it’s your first VM, the next id available when you look to your VM list, or any other number of your choice - For the
VMNAMEyour can give whatever name you would like to call the VM - The machine is a q35 just in case we need to make a passthrough in the future
- Bios is ovmf with UEFI for the boot running a Linux 2.6 Kernel as ostype
- Boot will default to the scsi controller that will be the disk that we’ll attach next
- The
onbootis active to make your VM always start on boot. Otherwise you’ll have to manually start it every time you reboot Proxmox - We enable
agent(QEMU) so you can reboot your VM through Proxmox UI - The
efidisk0is configured tolocal-lvmstorage but you can point to whatever storage you have in your setup - And the network is just the regular one that you can create from the UI, tweak it if you need something else
With the VM ready you can now import the image into it.
qm importdisk <VMID> <haos-image.qcow2> local-lvm
Do a rescan to detect the new disk
qm rescan --vmid <VMID>
Then attach the new disk
qm set <VMID> --scsi0 local-lvm:vm-<VMID>-disk-1,iothread=1,discard=on
If you are not using local-lvm you can adjust it and if also not using ssd as storage you can remove the ,discard=on part of the command.
Now you should be good to go and boot the vm.
qm start <VMID>
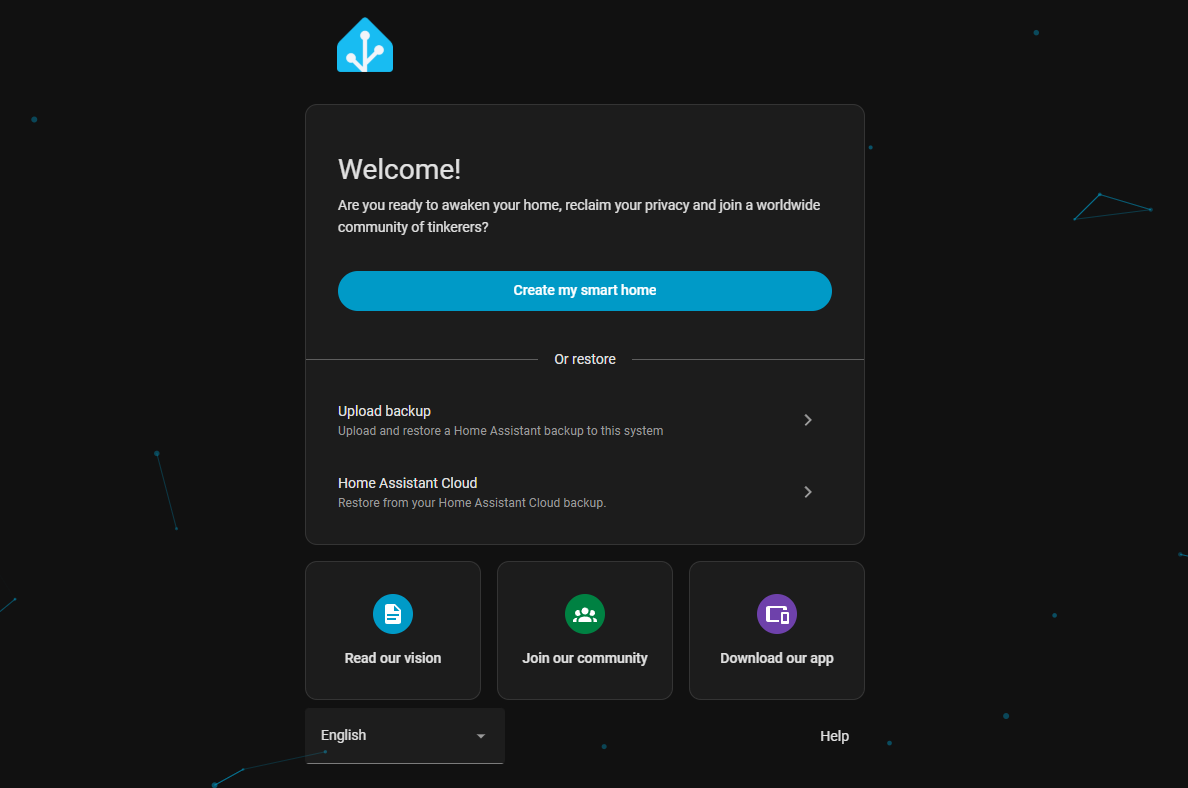
Give it a bit of time to boot and you should be greeted by the Home Assistant setup screen by navigating to http://<your-vm-ip>:8123 in your browser.

This work is licensed under a Creative Commons Attribuition-ShareAlike 4.0 International License .